Creating a Solaris 10 zone on OpenIndiana
2021-12-04
Illumos actually still supports creating Solaris 10 Zones. In a Solaris 10 zone, translation is done from Solaris 10 syscalls to Illumos' in order to allow the system to run in the zone. You can install support for Solaris 10 branded zones on OpenIndiana by running:
sudo pkg install pkg:/system/zones/brand/s10
If you get an error, make sure your system is updated with:
sudo pkg update -v
You can download a template for the zone here.
This template is designed to be run on Solaris 11 and automatically sets the zone up for you if you run it on that platform. There are some differences between OpenIndiana/Illumos' userland and Solaris 11's that prevents this from working, so instead we're going to extract the disk image manually.
To determine when the archive actually starts within the script, run:
awk '/^__IMAGE_BELOW__/ {print NR + 1; exit}' bin-filename-here
I doubt Oracle is ever going to update this script/image again, so if
you want to skip that step, for me it started at 3098 in
solaris-10u11-x86.bin. From this point forward I'm going to
be assuming it started at 3098 for you and the filename of the archive
you have is solaris-10u11-x86.bin.
You can now extract with:
tail +3098 ../solaris-10u11-x86.bin | tar xvf -
Among other things, this will net you disk-image, which
we care about. It's a gzipped cpio archive of a Solaris 10 1/13 root
filesystem. You want to extract this as OpenIndiana's
zoneadm didn't seem to want to use disk-image
directly:
gzcat disk-image | sudo cpio -idm
Before creating the zone, we need a ZFS dataset. I'll be creating my
zone at /zones/sol10:
sudo zfs create -o mountpoint=/zones rpool/zones
Now, let's create the zone. Assuming the zone's name will be
sol10, the network interface it'll bind to is
e1000g0, and its IP address will be
192.168.1.18:
zonecfg -z sol10
sol10: No such zone configured
Use 'create' to begin configuring a new zone.
zonecfg:sol10> create -t SUNWsolaris10
zonecfg:sol10> set zonepath=/zones/sol10
zonecfg:sol10> set autoboot=true
zonecfg:sol10> add net
zonecfg:sol10:net> set address=192.168.1.18
zonecfg:sol10:net> set physical=e1000g0
zonecfg:sol10:net> end
zonecfg:sol10> verify
zonecfg:sol10> commit
zonecfg:sol10> exit
If you're in a situation where you'd like the zone to use DHCP, you can do that. First, create a virtual network interface and attach it to the zone.
sudo dladm create-vnic -l e1000g0 vnic0
The zone configuration will look more like this:
zonecfg -z sol10
sol10: No such zone configured
Use 'create' to begin configuring a new zone.
zonecfg:sol10> create -t SUNWsolaris10
zonecfg:sol10> set zonepath=/zones/sol10
zonecfg:sol10> set autoboot=true
zonecfg:sol10> set ip-type=exclusive
zonecfg:sol10> add net
zonecfg:sol10:net> set physical=vnic0
zonecfg:sol10:net> end
zonecfg:sol10> verify
zonecfg:sol10> commit
zonecfg:sol10> exit
We can now actually install the root filesystem into the zone:
sudo zoneadm -z sol10 install -u -d /full/patch/to/extracted/root
After a while, the install should complete and you'll be returned to your shell prompt. Now, boot the zone:
sudo zoneadm -z sol10 boot
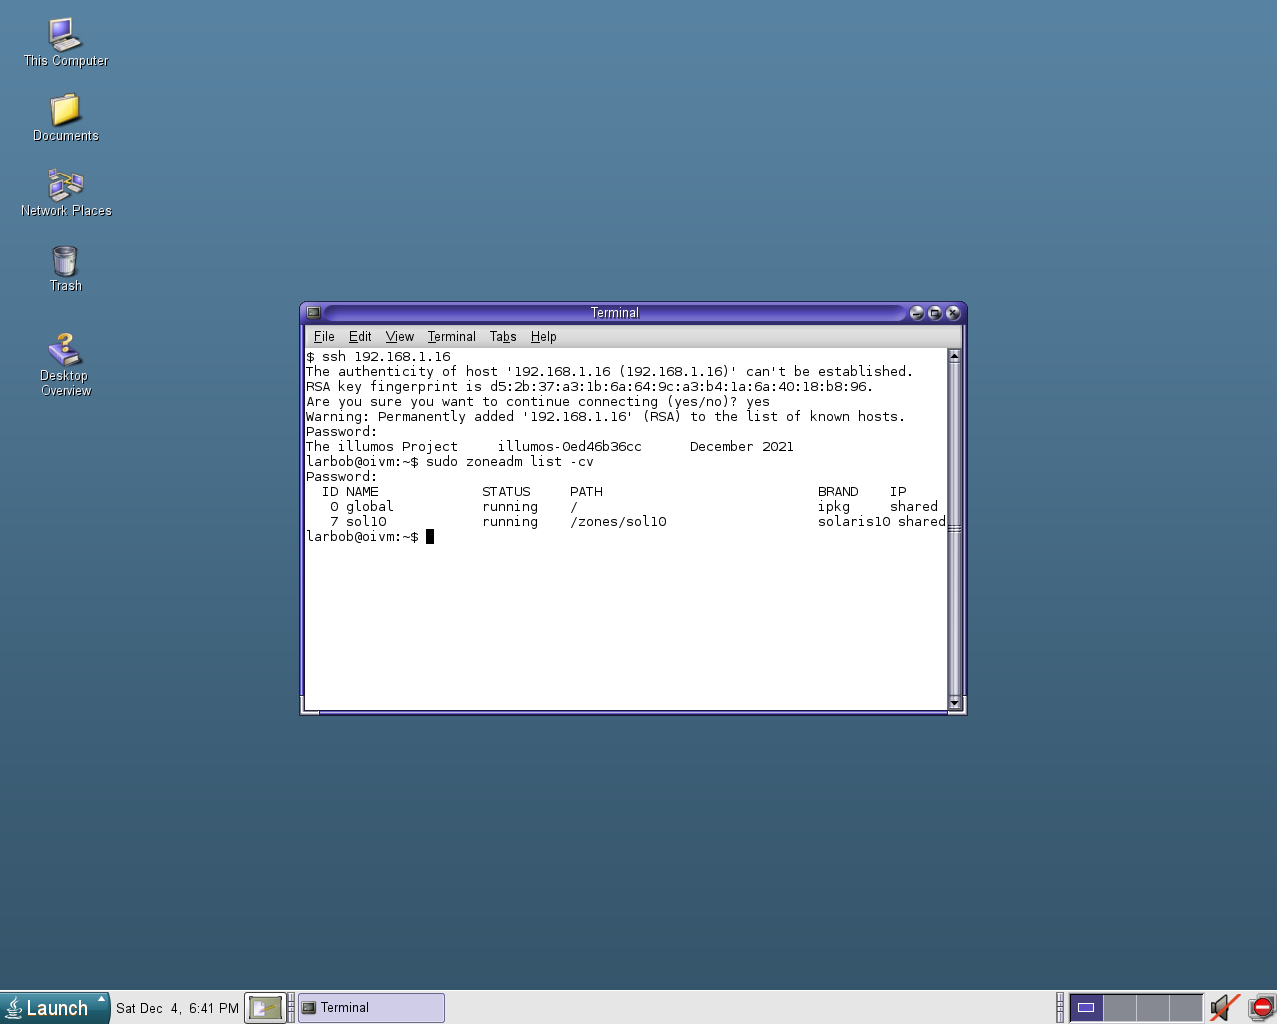
You can check that the zone's running with:
sudo zoneadm list -cv
You can login to the zone to complete initial setup with:
sudo zlogin -C sol10
Note for those that followed the instructions for DHCP above: If you used Oracle's template, the intial setup will make you set a static IP. You can set a static IP there and enable DHCP afterwards. To enable DHCP for the vnic in Solaris 10, log in and run:
touch /etc/dhcp.vnic0
Congratulations, you now have a fully functional Solaris 10 zone on OpenIndiana. To enable connecting to the zone through XDMCP, log in to the zone as root and run:
svcadm enable -r cde-login